

Create the agent
1
Open Agents
Go to Agents in the workspace sidebar.
2
Add an internal agent
Select Add agent > Create internal agent. To describe the job in plain language and let Operator draft the agent for you, select Build with Operator instead.
3
Name it
Enter a short name that says what the agent does, such as “Arrivals checker”, then select Create. Agent names must be unique in the workspace and can be up to 100 characters.
The agent sidebar
Each Runs on row shows its state at a glance, such as Setup, Off, Active, 2 active or 3 channels.
Persona
The Persona tab holds what the agent is told on every run.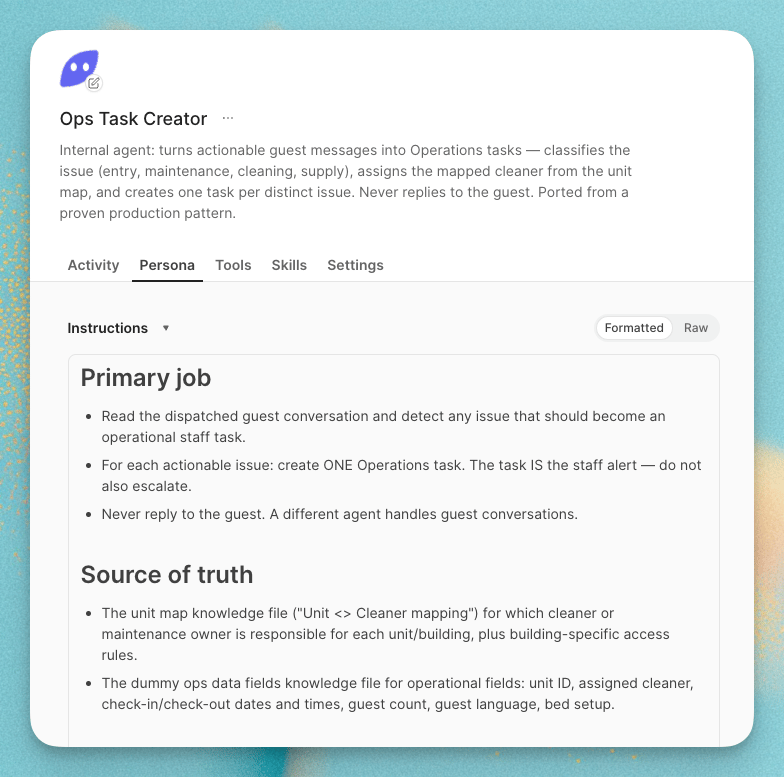
- Instructions describe the job: what the agent is for, what a good result looks like, who it reports to, and how to handle edge cases. Write them the way you’d brief a new teammate.
- Guardrails are rules the agent must always or never follow, such as “Never message a guest between 10 PM and 8 AM local time.” See Persona and guardrails.
Tools
The Tools tab decides what the agent is allowed to do: connection tools from your integrations, custom tools, MCP tools, built-in Conduit tools, and AI-triggered workflows. Enable only what the job needs.Capabilities
The Capabilities list at the top of the Tools tab turns on general-purpose abilities that aren’t tied to one integration. Which ones you see depends on your workspace.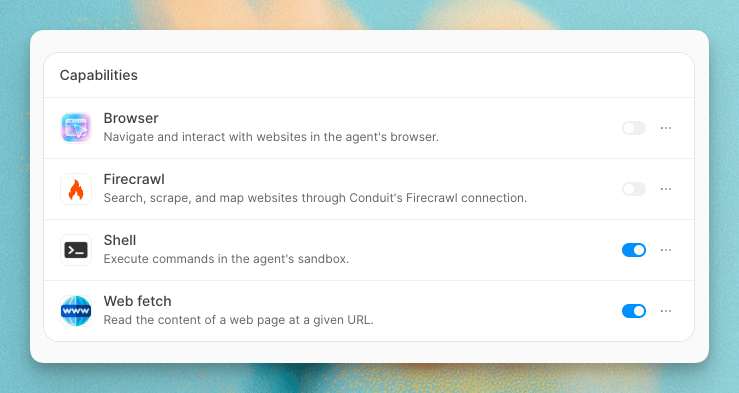
Turn a capability on with its switch.
An internal agent can only take actions its tools allow. If it needs to message a guest, create a task in your PMS, or post to Slack, enable that tool here. See Tools for every tool source and the built-in tools.
Skills
The Skills tab assigns reusable procedures to the agent. A Skill tells the agent when a situation applies and which steps and tools to use, for example “How to rank today’s cleanings”. See Skills.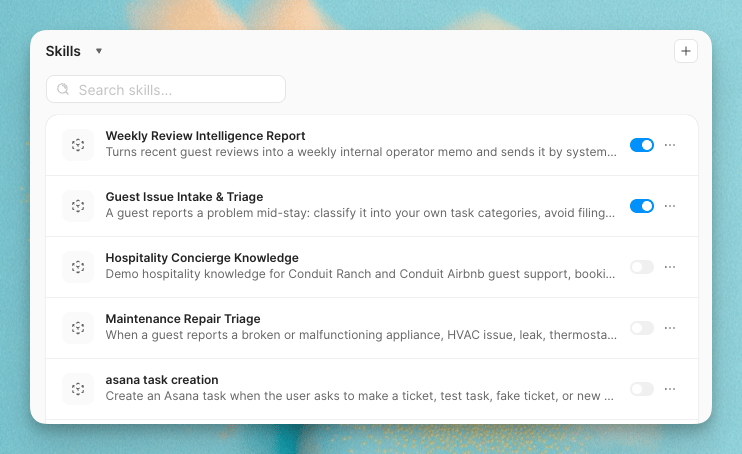
Settings
Internal agents don’t reply to contacts from an inbox, so their Settings tab has no Escalation rules or Behavior sections.Model
When your workspace shows the Model section, people who can manage agents choose the model from Agent model. Models are grouped by provider. For models that support it, pick a Thinking effort: Minimal, Low, Medium, High or Extra high. Higher effort lets the agent reason longer before acting, which suits complex, multi-step jobs. The model you pick affects what each run costs. See Credits.Publish your changes
Edits in the builder are staged. A save bar appears at the bottom of the page while you have unsaved changes. Select Save to publish them, or Cancel to discard them. Select History in the top bar to review earlier published versions of the agent.The Activity tab appears once the agent has been published.
Turn the agent on or off
Open the status menu in the top bar. Under Agent status, pick Active (“Agent can run from enabled triggers”) or Inactive (“Agent is turned off”), then select Save.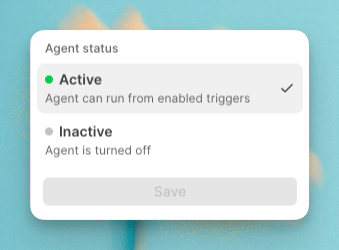
Test before you rely on it
Internal agents have no sandbox mode. Every run is real, and its tools take real actions. To test safely:- Start with read-only tools, and add tools that change data once the agent behaves as you expect.
- Use New chat to give the agent a task and watch each step. See Chat and activity.
- Use Run now to fire a mocked schedule, workflow or webhook trigger.
- Use Try it now in the schedule editor before you save a schedule, and pause a schedule with its switch while you adjust the agent.