

Add a vendor
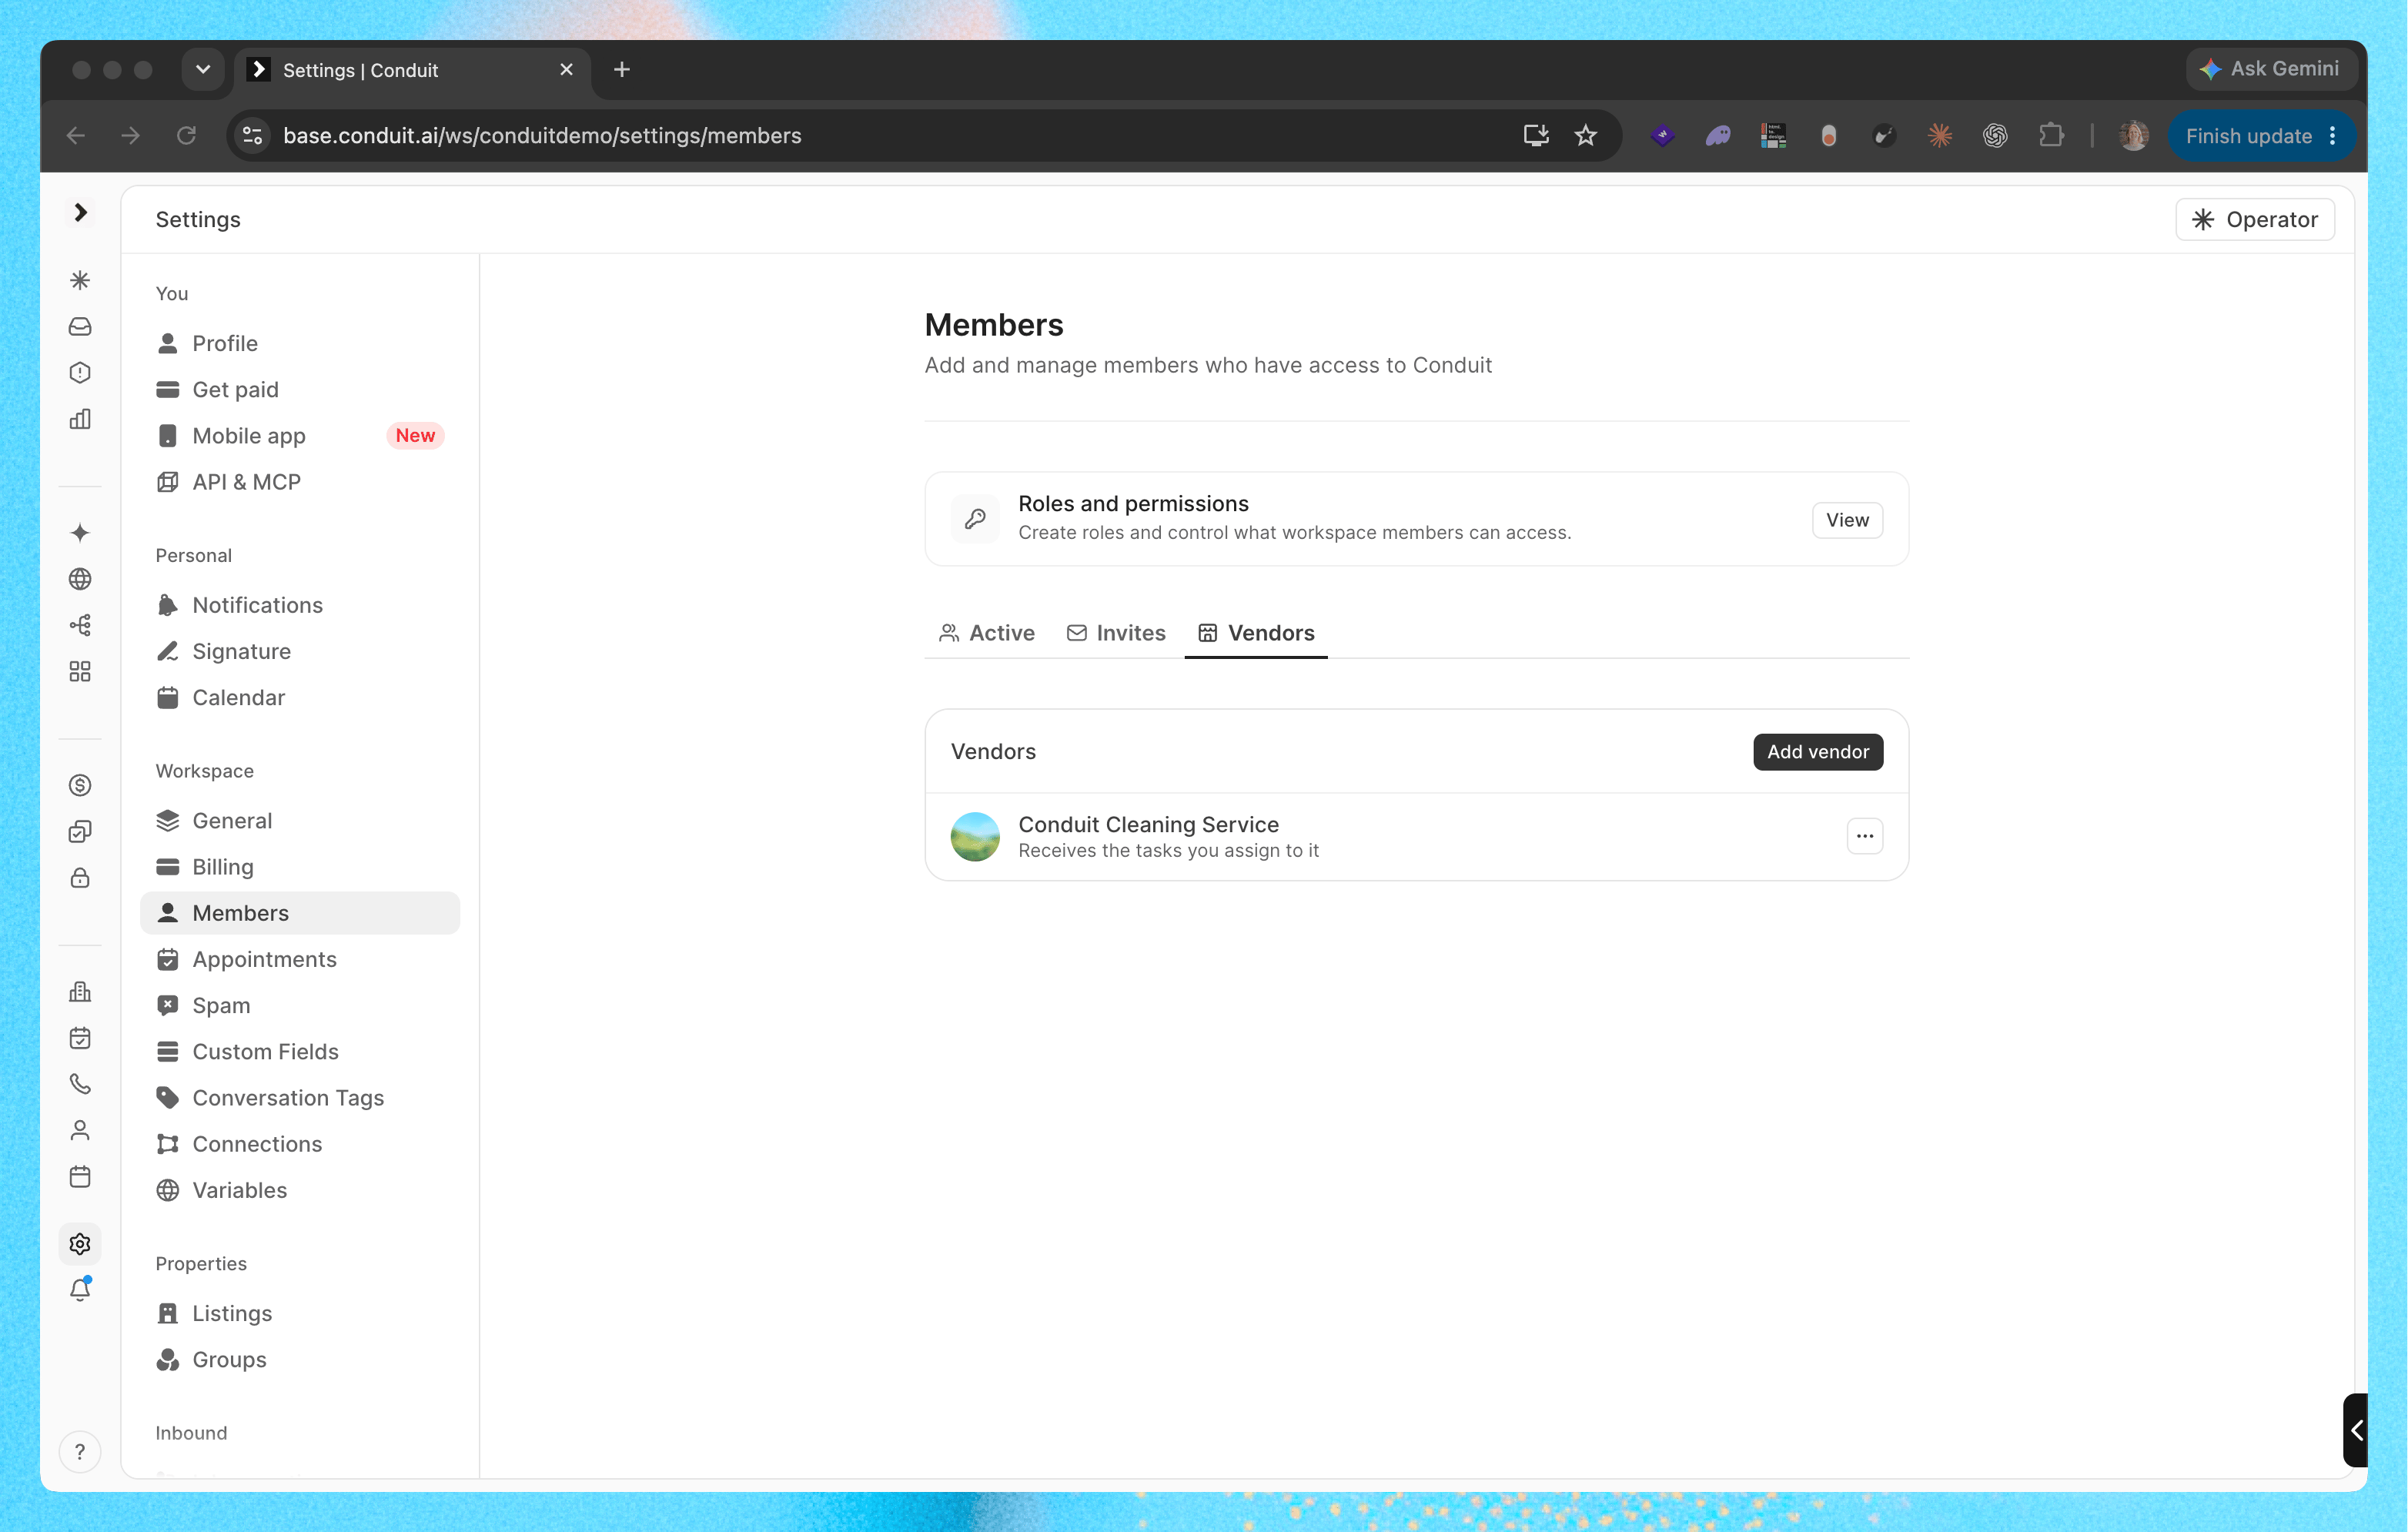
You need the Manage Members permission.- Ask the vendor for their connection code. They find it on Settings > Members > Vendors in their workspace
- In your workspace, go to Settings > Members and open the Vendors tab
- Click Add vendor, enter the Connection code and click Add vendor
- The vendor shows “Waiting for them to accept” until they accept your request. Then it shows “Receives the tasks you assign to it”
Assign a task to a vendor
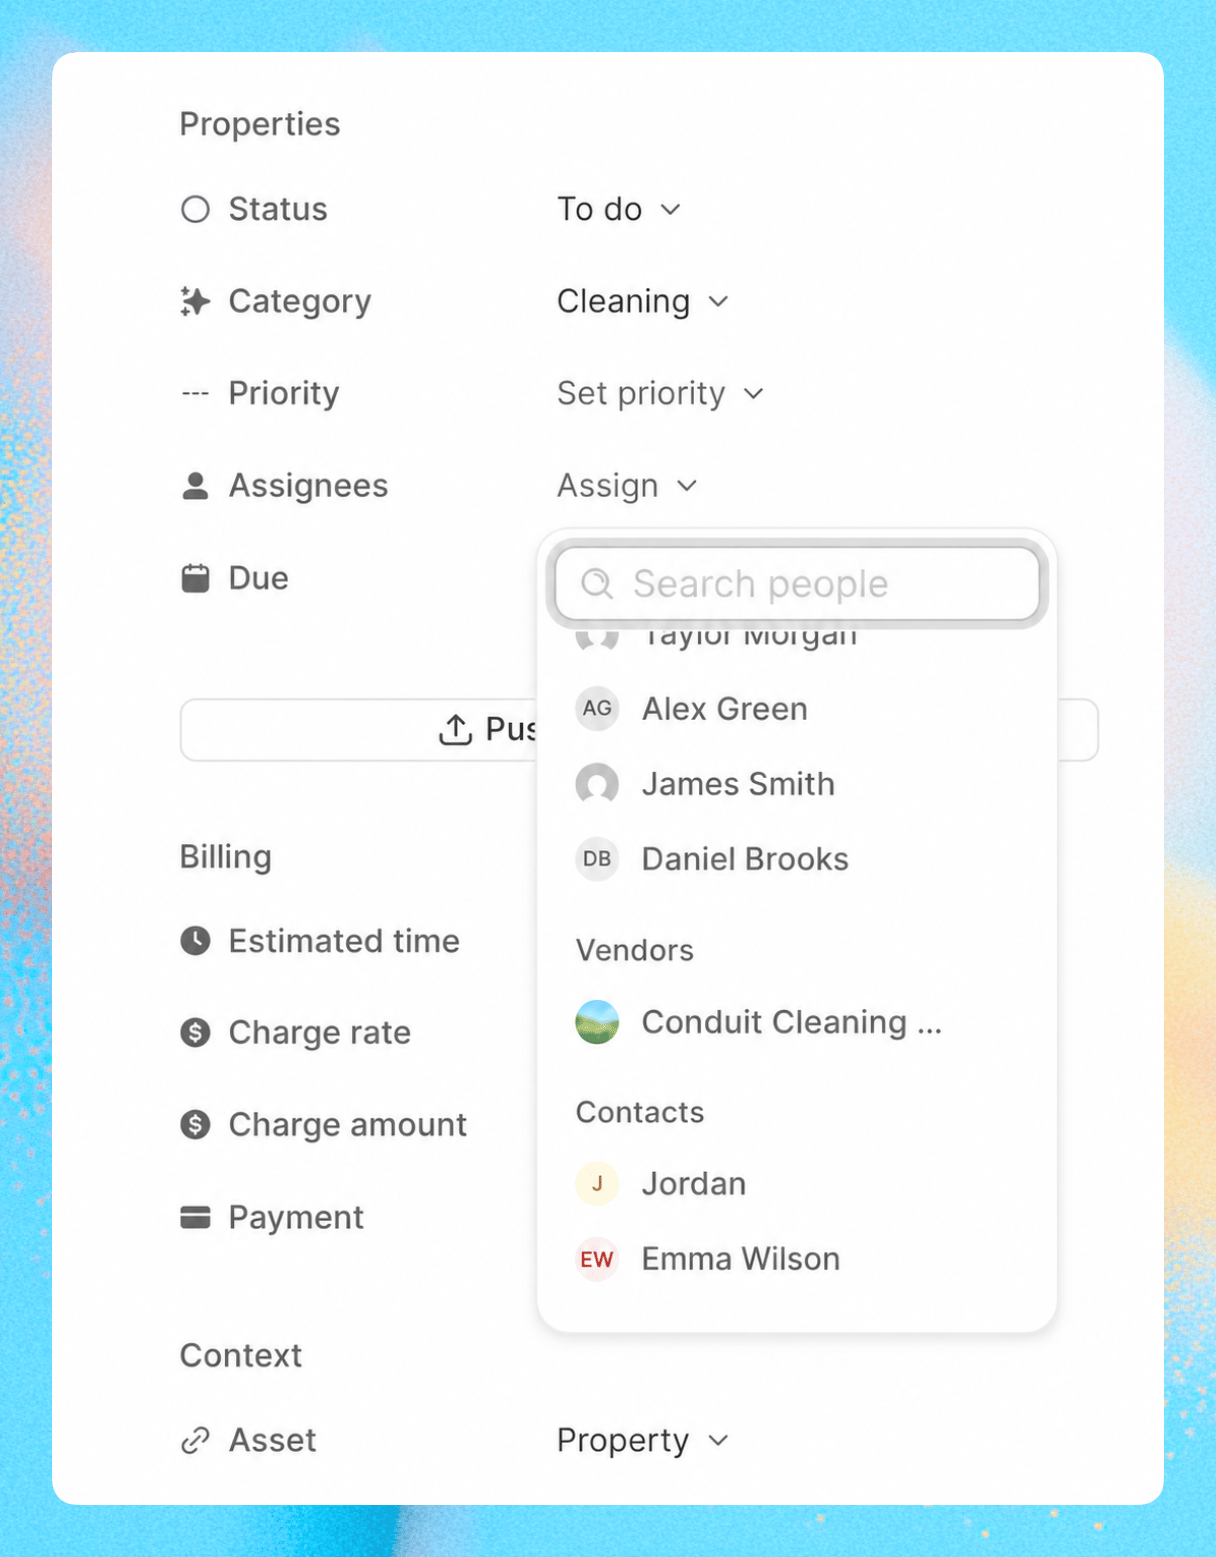
- Open the task and click Assignees
- Pick the vendor under Vendors
How the task stays in sync
- You control the details. Changes to the title, description, due date, estimated time and priority update the vendor’s copy. Deleting the task removes it from the vendor’s workspace too
- The vendor does the work. Their status changes and checklist answers sync back to your task, and show in its activity as done by the vendor
- Checklist photos are shared both ways. Other attachments, comments and custom fields stay with the workspace that added them